Lately I have been doing development on my Raspberry Pi creating a weather station from the ground up. Since I am using node.js and python to read the temperature and humidity sensor (a DHT22 sensor) I also had a need for source control. As I am coming from the Microsoft side all my experience is in TFS and that won’t do for a Linux environment. So git to the rescue since it runs on Windows, Linux and Mac. I wanted to have my private git server and I also own Synology server that is sitting in my electricity cupboard. This blogpost is a howto to setup git as a server on a Synology and use it on a Raspberry Pi so I have source control on the projects that I develop on the Raspberry.
On your Synology:
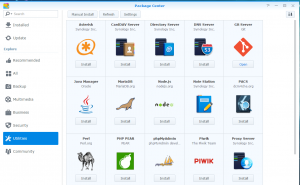
1. Install the official Synology package git server:
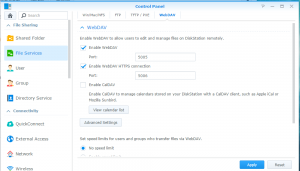
2. Ensure WebDav is enable on the synology server and running on ports 5005 / 5006 (default ports in control panel:
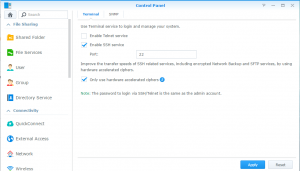
3. Ensure that you have ssh available and running on your Synology and ssh into it ssh admin@yourserver.nl
3. Create a directory to hold the git repo: mkdir myrepository.git
4. Change directory to the new directory: cd myrepository.git/
5. Initialize: git –bare init
6. git update-server-info
on my Raspberry Pi with Raspbian:
1. Git already seems installed in Raspbian. Otherwise install the git package. On my raspberry pi that is running Arch Linux I had to install git through pacman.
2. Set your email globally for git: git config –global user.email “user@domain.nl”
3. Set your user name globally for: git config –global user.name “user”
4. Create a directory and change directory to it
5. Clone the server repo: git clone http://admin@yourserver:5005/home/git-repos/myrepository.git (i am lazy here, just made sure that i could access http with the admin user)
6. nano readme.txt and enter some text
7. git add .
8. Commit the changes: git commit -m ‘initial commit’. Should give some feedback like 1 file changed, 1 insertion
9.Push the changes to the git server: git push -u origin master
To pull changes on any other machine that has cloned the repo: git pull


